
How to Diagnose Vehicle Tracker Failures: A Complete Guide for Installers
Learn how to diagnose the main failures in vehicle trackers. Discover a complete step-by-step guide to identify problems with power, GPS, GSM, wiring harness, antennas, relays, blocking, and platform communication.
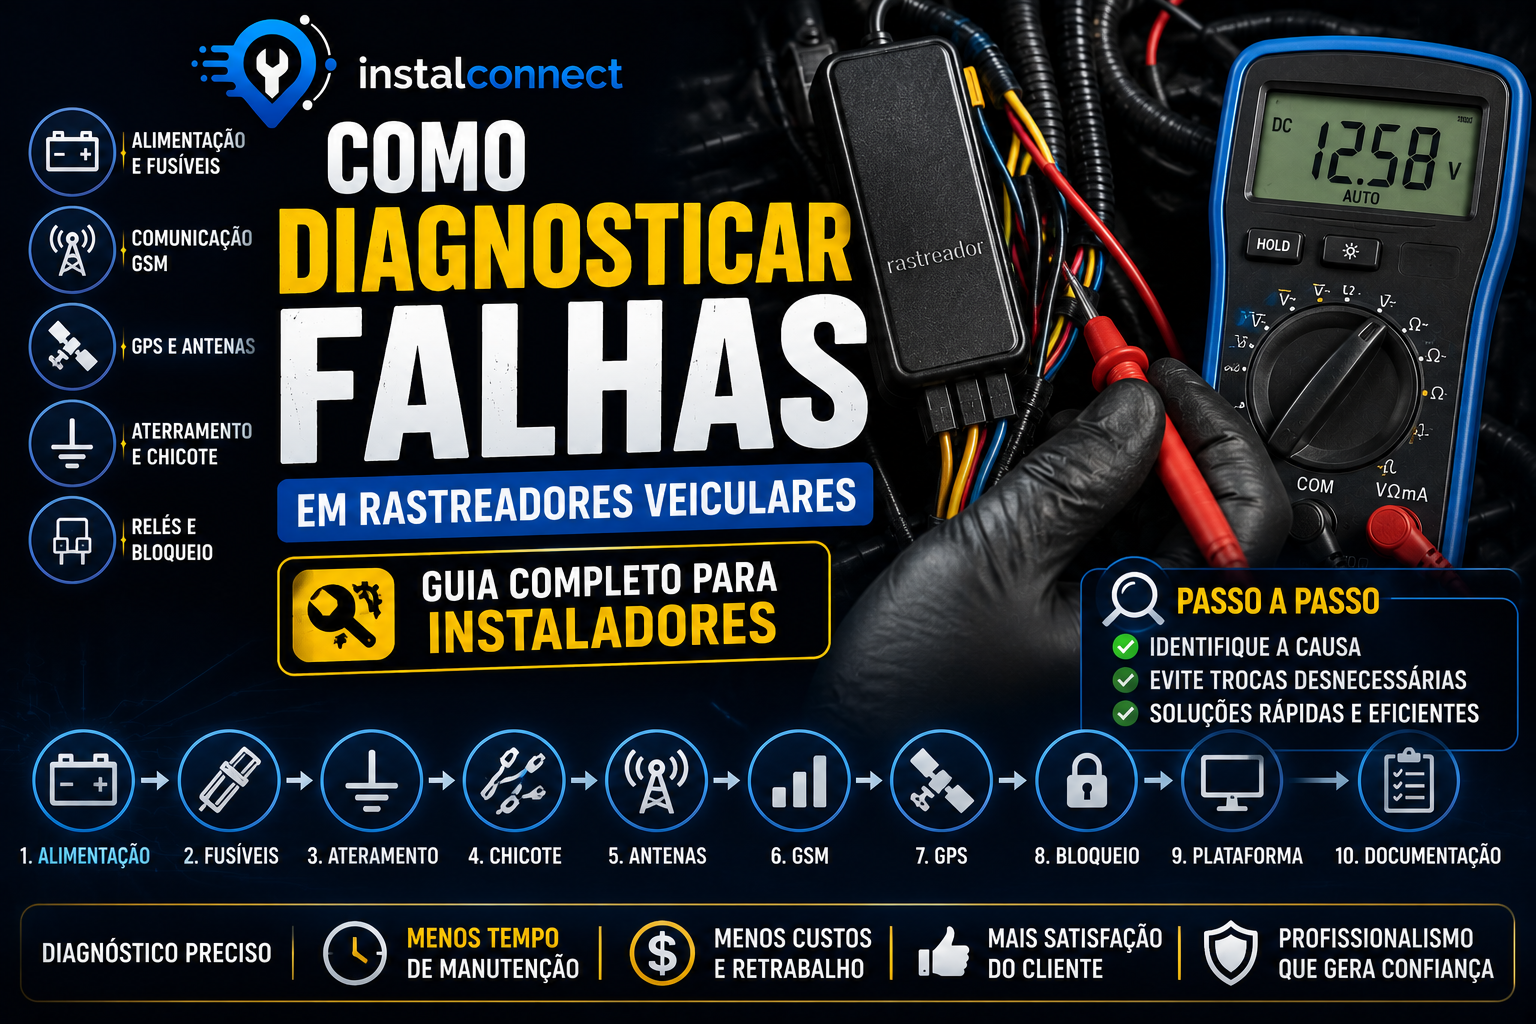
Even with quality equipment and careful installation, every technician will encounter situations where a tracker stops working as expected. In these moments, the difference between a novice installer and an experienced professional lies in the ability to perform a technical, organized, and efficient diagnosis.
Replacing components without identifying the cause of the failure increases costs, leads to rework, and can even create new problems. Therefore, every diagnosis should follow a logical sequence, eliminating hypotheses until the source of the defect is located.
In this guide, you will learn a practical method for diagnosing the most common failures in vehicle trackers.
Never start by replacing the equipment
A frequent mistake is to immediately replace the tracker.
In practice, many occurrences are related to:
- electrical power;
- grounding;
- fuses;
- connectors;
- wiring harnesses;
- antennas;
- vehicle battery.
Before condemning the equipment, check the entire system.
Step 1 — Check the power supply
The first diagnosis should always be performed on the electrical power supply.
Confirm:
- battery voltage;
- permanent power supply;
- ignition switch (post-key);
- grounding;
- circuit continuity.
A large part of failures is related to problems at this stage.
Step 2 — Inspect the fuses
Blown or incorrectly sized fuses completely interrupt the system's operation.
Check:
- integrity;
- correct amperage;
- oxidation;
- proper fit.
Never replace a fuse with one of higher capacity without checking the cause of the failure.
Step 3 — Analyze the grounding
Poor grounding can cause:
- restarts;
- loss of communication;
- unstable behavior;
- irregular consumption.
Always use a multimeter to confirm the quality of the ground point.
Step 4 — Examine the wiring harness
Perform a complete visual inspection.
Look for:
- broken wires;
- damaged insulation;
- torn conduits;
- loose connectors;
- signs of friction.
In many cases, the defect is easily identified at this stage.
Step 5 — Check the antennas
A poorly positioned or damaged antenna can compromise the tracker's operation.
Analyze:
- physical integrity;
- connectors;
- fastening;
- positioning;
- metallic interferences.
Step 6 — Evaluate GSM communication
If the tracker is properly powered, check if there is communication with the cellular network.
Confirm:
- carrier coverage;
- correctly installed SIM card;
- line activation;
- APN configuration;
- available signal.
Step 7 — Check the GPS
Location problems are usually related to:
- poorly positioned antenna;
- signal obstruction;
- enclosed environment;
- antenna defect.
Always perform tests in an open area.
Step 8 — Test the blocking function
When there is a blocking function:
Check:
- relay operation;
- connections;
- command response;
- wiring harness;
- power supply.
Never perform tests without following safety procedures.
Step 9 — Consult the platform
Analyze the information available in the monitoring system.
Observe:
- last contact;
- signal level;
- reported voltage;
- recorded events;
- communication history.
This data helps reduce diagnostic time.
Step 10 — Document everything
Each maintenance should generate a record.
Note down:
- symptoms;
- tests performed;
- components replaced;
- measurements;
- solution found.
This documentation improves service and speeds up future diagnostics.
Essential tools
Every installer must have:
- multimeter;
- clamp meter;
- power supply;
- automotive scanner (when necessary);
- disassembly tools;
- replacement connectors;
- fuses;
- relays;
- automotive tape;
- heat shrink tubing.
Common errors during diagnosis
Among the main errors are:
- replacing the tracker without testing;
- ignoring grounding;
- not measuring voltage;
- relying solely on visual inspection;
- not consulting the platform;
- using inadequate tools;
- not recording the service performed.
Diagnostic Checklist
Before concluding any service, confirm:
✔ Power supply measured.
✔ Fuses checked.
✔ Grounding tested.
✔ Wiring harness inspected.
✔ Antennas verified.
✔ GSM communication analyzed.
✔ GPS tested.
✔ Platform consulted.
✔ Documentation completed.
Benefits of an organized diagnosis
A structured process provides:
- reduced maintenance time;
- cost reduction;
- less unnecessary equipment replacement;
- greater customer satisfaction;
- increased productivity;
- greater technical reliability.
Conclusion
Correctly diagnosing a vehicle tracker requires method, technical knowledge, and adequate tools. By following a logical sequence of verifications, the installer significantly reduces the time needed to locate the cause of the failure and avoids unnecessary component replacements.
More than just solving problems, good diagnostics demonstrate professionalism and strengthen customer trust. In an increasingly competitive market, the ability to identify failures quickly and accurately is a differential that adds value to the service provided.
Frequently Asked Questions (FAQ)
The tracker is off. What should I check first?
Start with the electrical power supply, including battery voltage, fuses, ignition switch (post-key), and grounding.
How do I know if the problem is with GPS or GSM communication?
Independently check satellite reception and the cellular network connection status on the monitoring platform.
Can I replace the tracker without performing tests?
It is not recommended. Many problems are caused by power supply, wiring harness, connectors, or antennas.
Can poor grounding cause intermittent failures?
Yes. Poor contact in the grounding can cause restarts and temporary loss of communication.
Is it worth documenting all diagnostics?
Yes. The history facilitates future maintenance and improves service standardization.
Related articles
 Tracker Installation
How to Install a Tracker on a Motorcycle Without Voiding the Warranty? Technical Guide with Plug-and-Play Connectors
Learn how to install motorcycle trackers using plug-and-play connectors, preserving the original harness, reducing electrical interventions, and making installation safer, more professional, and reversible.
 Tracker Installation
How to Install a Vehicle Tracker While Preserving the Original Wiring Harness and Vehicle Warranty: A Comprehensive Technical Guide
Learn the best practices for installing a vehicle tracker while preserving the original wiring harness and reducing the risk of electrical problems. Discover professional techniques, tools, connectors, and precautions that help maintain vehicle integrity.
 Tracker Installation
Does Installing a Vehicle Tracker Void the Factory Warranty? A Complete Guide for Owners, Businesses, and Installers
Discover if installing a vehicle tracker can void your factory warranty. Understand how warranties work, precautions to take during installation, consumer rights, and best practices to preserve vehicle integrity.