
How to Install a Tracker on a Motorcycle Without Voiding the Warranty? Technical Guide with Plug-and-Play Connectors
Learn how to install motorcycle trackers using plug-and-play connectors, preserving the original harness, reducing electrical interventions, and making installation safer, more professional, and reversible.
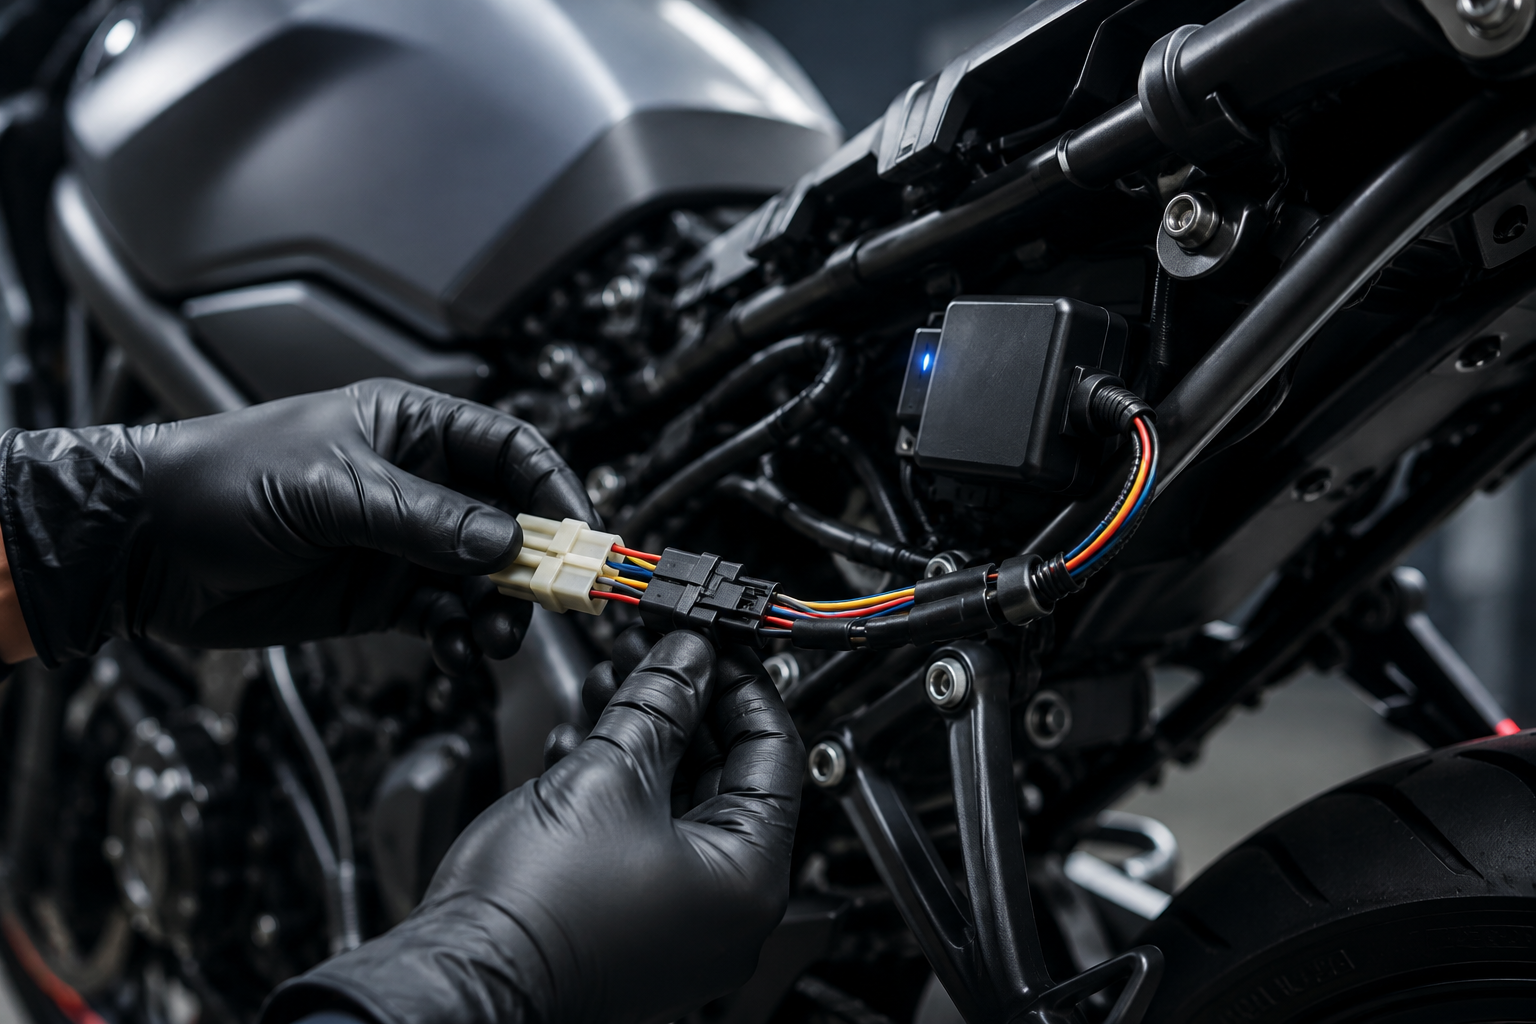
Installing a tracker on a modern motorcycle requires much more than finding a power point and hiding the equipment.
Today's motorcycles have increasingly sophisticated electrical and electronic systems. Depending on the model, there may be an ECU, sensors, immobilizer, ABS, communication networks, and various electronic circuits that should not be improvised upon.
Therefore, one of the best practices for a professional installation is to minimize intervention in the motorcycle's original wiring harness.
This is where plug-and-play connectors and specific motorcycle adapters come in.
Instead of cutting, stripping, or splicing original wires, the installer can use an interface that connects to the appropriate points on the vehicle, allowing power to be supplied or certain signals to be obtained for the tracker without physically modifying the original harness.
But there is a fundamental point:
Using a connector without cutting the harness does not, by itself, automatically guarantee that the motorcycle's warranty is preserved.
The warranty depends on the conditions established by the manufacturer, the motorcycle model, the accessory used, and, primarily, the relationship between any defect and the installation performed.
This guide shows how to work with this approach in a technically correct way.
1. Why avoid cutting the original harness?
The wiring harness is a fundamental part of the motorcycle.
An seemingly simple wire can power or transmit information used by other systems.
When the installer cuts an original conductor to install a tracker, it creates a permanent or semi-permanent intervention in the factory installation.
This can lead to problems such as:
poor contact; increased electrical resistance; oxidation; water infiltration; conductor breakage; short circuit; intermittent failures; insulation problems; difficulty in subsequent diagnosis.
Furthermore, a poorly executed intervention can make it difficult to identify the cause of any electrical problem.
Therefore, the less intervention in the original system, the better.
2. What is a plug-and-play installation?
A plug-and-play installation uses an adapter or connector designed for a specific application, allowing connection without cutting the original harness.
The ideal concept is:
Original harness → adapter/connector → tracker
Instead of:
Original harness → cut wire → splice → tracker
The great benefit is the possibility of making the installation reversible.
If the tracker needs to be removed, the installer can remove the adapter and restore the vehicle's original configuration.
3. Not every connector is truly suitable
Here is one of the most important points for the installer.
The simple fact that a product is advertised as a "tracker connector" does not mean that it is technically suitable for any motorcycle.
It is necessary to evaluate:
motorcycle model; year; version; connector type; circuit used; current supported; operating voltage; terminal quality; sealing; vibration resistance; moisture resistance; operating temperature; mechanical compatibility; electrical compatibility.
An unsuitable connector can create more problems than a well-executed conventional installation.
4. The best scenario: model-specific adapter
When available, the best solution is to use a model-specific adapter for the motorcycle.
For example:
Original motorcycle connector ↓ Specific adapter ↓ Output for tracker power/signal
This way, the installer does not need to modify the factory harness.
This solution offers several advantages:
Reversibility
The tracker can be removed later.
Harness preservation
No need to cut or strip the original wires.
Standardization
All motorcycles of that model can receive a similar procedure.
Quality
The connection can use appropriate terminals and housings for the application.
Documentation
It becomes much easier to record and demonstrate how the installation was performed.
5. Connectors that should be avoided
Not every method that eliminates wire cutting is necessarily a good practice.
The installer should be especially careful with connectors that:
perforate insulation; excessively pressure the conductor; become loose; have no lock; have no moisture protection; use low-quality terminals; cannot withstand vibration; create improvised derivations; can come loose with motorcycle movement.
Professional installation should not be evaluated solely by the question:
"Was the wire cut?"
The correct question is:
"Was the connection technically adequate for that circuit and for the motorcycle's operating conditions?"
6. Is the motorcycle's warranty really preserved?
This is probably the point that generates the most doubts among customers and installers.
The correct answer is:
there is no universal rule for all motorcycles.
Each manufacturer establishes its own warranty conditions.
For example, Honda currently states that the installation of accessories does not affect the warranty when they are genuine Honda accessories installed by authorized dealerships. Honda itself advises owners to consult the Owner's Manual and Warranty Terms to understand the applicable conditions.
Yamaha also states that original accessories do not affect the warranty, but warns that non-approved accessories can compromise performance and durability, and that failures caused by these items or poor installation are not covered.
Meanwhile, the terms published by Suzuki are even more specific: there are exclusions related to damage to the electrical system resulting from the use of non-original accessories, including trackers.
Therefore:
A plug-and-play connector significantly reduces physical intervention in the vehicle, but it should not be presented to the customer as an automatic guarantee of maintaining the factory warranty.
This distinction is fundamental.
7. Reversible installation is different from approved installation
These are concepts that should not be confused.
Reversible installation
This is one that can be removed without leaving significant alterations in the vehicle.
Approved installation
This is one performed with equipment, procedure, or accessory recognized/approved by the manufacturer according to their own rules.
An installation can be:
reversible, but not approved.
Therefore, the installer should avoid phrases like:
"You can install it because it won't void the warranty."
It is much more correct to say:
"The installation was designed to minimize intervention in the original system and preserve reversibility, but warranty conditions must be checked according to the manufacturer and motorcycle model."
8. How to choose the power point
The first step is to correctly identify the circuit to be used.
Never choose a wire simply because it:
has 12 V; is near the battery; seems to be ignition-switched; has a known color.
Identification should be based on:
electrical diagram; service manual; technical documentation; connector identification; measurements with appropriate instrument.
The goal is to know exactly:
which circuit is being used and what its function is.
9. Ignition-switched power: special attention
In some installations, the tracker needs to identify the ignition.
This does not necessarily mean that any wire that shows 12 V with the key on can be used.
The circuit must be analyzed to check for:
voltage; behavior with the key; available current; possibility of timed shutdown; presence of electronic modules; possibility of fault diagnosis; interaction with other systems.
In modern motorcycles, a seemingly simple reading can hide a much more complex electronic architecture.
10. Direct battery power
Depending on the tracker and system architecture, permanent power may be required.
In this case, it is essential to observe:
fuse protection; current consumed by the equipment; quiescent current; battery capacity; time the motorcycle will be parked; quality of connections; conductor sizing.
A tracker can function perfectly during motorcycle use and still cause problems later if its quiescent current is incompatible with the battery and the usage profile.
11. Fuse: small component, great importance
Electrical protection should not be neglected.
Where applicable, the tracker's power circuit must have adequate protection.
The fuse must be sized considering:
normal equipment current; circuit capacity; conductor cross-section; system characteristics.
One should not simply install a higher capacity fuse to "prevent blowing".
The fuse exists precisely to protect the circuit.
12. Grounding
Grounding also deserves attention.
An inadequate grounding point can cause:
voltage drop; instability; restarts; communication failures; overheating; equipment malfunction.
Whenever possible, a technically appropriate and mechanically reliable grounding point should be used.
In addition, it is important to check for:
oxidation; tightness; metallic contact; moisture protection; possibility of vibration.
13. Protection against water and moisture
Motorcycles are much more exposed to water than cars.
The tracker and its connectors can face:
rain; washing; water projected by the wheel; condensation; moisture; mud.
Therefore, the installation must consider the protection of the connectors.
It is not enough to hide the equipment.
It is necessary to think:
"What will happen to this connection after months of rain, washing, and vibration?"
14. Vibration is a silent enemy
Motorcycles operate in a constant vibration environment.
An seemingly perfect installation can present problems after some time if the cables are:
tensioned; excessively bent; rigidly fixed; near moving parts; touching metal components; passing near the engine or exhaust.
Cables should have proper routing and strain relief.
15. It's not enough to just hide the tracker
The installation location must simultaneously consider:
security; GNSS/GPS signal; cellular communication; temperature; moisture; vibration; access for maintenance; mechanical protection; electrical interference; possibility of inspection.
The best location is not necessarily the most hidden one.
It is the location that offers the best balance between functionality, security, and reliability.
16. Never install near excessive heat sources
The installer should avoid locations near:
exhaust; cylinder head; radiator; components that present high temperatures; areas with excessive heat.
The same applies to cables.
A perfectly installed electrical harness can present problems if it is constantly subjected to inadequate temperatures.
17. Cable routing
After connection, comes an often-neglected step:
organizing the harness.
Cables should be routed so that they:
are not stretched; do not touch moving parts; are not crushed; do not suffer friction; are not near heat sources; do not create excessively tight bends; do not hinder fairing assembly.
A professional installation should look like it's part of the vehicle.
18. Photographic documentation
One of the best practices for tracking companies is to document the installation.
It is recommended to record:
Before vehicle condition; connectors; original harness; installation location. During adapter; connections; routing; protection; fastening. After equipment installed; connectors; organized harness; finish; operation.
This creates a technical history of the installation.
For a tracking company, this documentation can be extremely important in warranty processes, maintenance, auditing, and customer service.
19. Professional installation checklist
Before releasing the motorcycle, the installer should check:
Electrical System
☐ Correct power supply ☐ Correct polarity ☐ Adequate fuse ☐ Proper grounding ☐ Firm connections ☐ No original wires cut ☐ No original wires stripped
Connectors
☐ Correct connector for the model ☐ Terminal correctly seated ☐ Lock engaged ☐ Moisture protection ☐ No excessive play
Tracker
☐ Adequate fastening ☐ No contact with moving parts ☐ No excessive heat exposure ☐ Antenna in adequate position ☐ Communication working
Harness
☐ Cables protected ☐ No mechanical tension ☐ No friction ☐ No contact with moving parts ☐ Organized routing
Tests
☐ Ignition correctly identified ☐ GPS/GNSS working ☐ Cellular communication working ☐ Location updated ☐ Blocking command tested, where applicable ☐ Events correctly registered ☐ Vehicle functioning normally
20. Test before delivering the motorcycle
Installation does not end when the tracker turns on.
It is necessary to test the entire system.
The installer should check:
power supply; ignition; communication; positioning; voltage; events; commands; behavior after turning off the motorcycle; behavior after restarting; any abnormal consumption.
When possible, it is also interesting to perform a test after a few minutes of operation and check if the equipment remains stable.
21. What if the dealership says the tracker voids the warranty?
The customer should not simply accept a generic statement like:
"It has a tracker, the warranty is lost."
The correct approach is to ask the dealership to indicate:
which clause of the Warranty Terms applies; which component would be affected; what relationship exists between the tracker and the defect; what procedure the manufacturer determines.
This is especially important because policies vary among manufacturers.
For example, the official documents currently published by Honda, Yamaha, and Suzuki present different conditions for accessories and electrical systems.
22. The philosophy of professional installation
The installer's objective should not simply be:
"make the tracker work."
The objective should be:
make the tracker work while interfering as little as possible with the vehicle.
This change in mindset completely transforms the quality of the installation.
A professional installation should aim for:
Fewer cuts. Fewer splices. Fewer interventions. More reversibility. More documentation. More security. More standardization.
23. The gold standard: OEM installation
When we talk about a high-level installation, we can use the concept of OEM standard installation.
OEM stands for Original Equipment Manufacturer.
In practice, it means seeking an installation that:
respects the vehicle's construction standard; uses appropriate connections; preserves the harness; has a professional finish; does not generate interference; is organized; is reliable; is reversible when possible.
The result should be an installation that, visually and technically, appears to have been planned from the start.
24. The future of motorcycle tracker installations
As motorcycles evolve, installation also needs to evolve.
The trend is that installers will increasingly need to know about:
onboard electronics; CAN networks; sensors; electronic modules; immobilization systems; diagnostics; quiescent current; automotive connectors; data communication.
Installers who continue to work only with:
"grab the positive, grab the negative, and cut the wire"
will become increasingly limited.
The professional of the future will be one who understands the motorcycle's electrical and electronic system as a whole.
Installing a tracker on a motorcycle without cutting the original harness is not only possible in many applications but also represents a significant evolution in installation quality.
The use of plug-and-play connectors and specific adapters can significantly reduce intervention in the original system, improve reversibility, and provide a much more professional finish.
However, it is fundamental not to confuse reversible installation with automatic factory warranty.
Each manufacturer has its own rules.
Therefore, the professional procedure should be:
1. Know the motorcycle.
2. Consult the manufacturer's documentation.
3. Correctly identify the circuits.
4. Use appropriate connectors.
5. Avoid cutting or modifying the original harness.
6. Protect connections and cables.
7. Fully test the system.
8. Document the installation.
9. Deliver the vehicle with a professional finish.
Ultimately, the best installation is not simply one where the tracker works.
It is one where the tracker works without turning the motorcycle into a laboratory of electrical splices.
FAQ — Frequently Asked Questions
Can I install a tracker on a motorcycle without cutting the harness?
Yes. When there is a suitable adapter or connector for the motorcycle, it is possible to perform an installation without cutting the original harness.
Does a plug-and-play connector guarantee warranty preservation?
Not necessarily. It reduces vehicle intervention, but warranty conditions depend on the manufacturer, model, accessory, and applicable terms.
Is it better to use a specific connector for each model?
Yes. When available, a specific adapter tends to offer better fit, mechanical security, and standardization.
Can I use any tap connector?
No. The connector must be compatible with the circuit, current, voltage, environment, and mechanical conditions of the motorcycle.
Is it necessary to document the installation?
It is an excellent practice. Photos of the installation help demonstrate how the equipment was installed and facilitate future maintenance.
Can the tracker drain the motorcycle's battery?
It can, depending on the equipment's consumption, battery capacity, operating mode, and the time the motorcycle remains parked. Therefore, quiescent current must be considered in the installation design.
Should the installer cut the wire to get ignition-switched power?
Not necessarily. Depending on the model, there may be a way to obtain the signal using an appropriate connector or adapter.
Related articles
 Tracker Installation
How to Install a Vehicle Tracker While Preserving the Original Wiring Harness and Vehicle Warranty: A Comprehensive Technical Guide
Learn the best practices for installing a vehicle tracker while preserving the original wiring harness and reducing the risk of electrical problems. Discover professional techniques, tools, connectors, and precautions that help maintain vehicle integrity.
 Tracker Installation
Does Installing a Vehicle Tracker Void the Factory Warranty? A Complete Guide for Owners, Businesses, and Installers
Discover if installing a vehicle tracker can void your factory warranty. Understand how warranties work, precautions to take during installation, consumer rights, and best practices to preserve vehicle integrity.
 Tracker Installation
How to Diagnose Vehicle Tracker Failures: A Complete Guide for Installers
Learn how to diagnose the main failures in vehicle trackers. Discover a complete step-by-step guide to identify problems with power, GPS, GSM, wiring harness, antennas, relays, blocking, and platform communication.